Tuesday, 19 March 2013

PETER PAN INSPIRED MAKEUP (TUTORIAL)

Carrying on with the Disney theme but straying from the princesses, I thought Peter Pan would be an awesome tutorial to create, since I'm obsessed with green makeup right now.


Prime your eye and add either a matte or shimmery green all over and under the lid (Urban Decay - Mildew).


Blend a mid-brown into your crease (Smog - Urban Decay).


Add a white highlighter to your brow bone (Polyester Bride - Urban Decay). Also, add a darker matte (Busted - Urban Decay) brow to the outer corner of your crease to add a bit more depth.


Apply gold to your tear duct (for Tinkerbell... duh). I used my favourite Blitz by Urban Decay for this.


I used a red (Love+ - Sugarpill) to create a double wing at the outer corner of my eye. I do, however, realise you may not want to do this... since it makes your eye look like a fish drawn by a five year old.


To fill in my 'brows, I used the same red and gold.


Line your eyes with either brown or bronze (Lucky - Urban Decay). I also drew along the edges of my winged feather fish thing.


Apply your usual mascara and some false 'lashes if you want, although the 'lashes may be a bit too much considering all the trouble you've gone to drawing a tail on your eye...

Okay, okay. So the red fish tail thing (supposed to represent the feather in Peter Pan's cap) didn't look quite as impressive as I wanted, but the green, brown and gold is a pretty solid combination. It's also pretty wearable in spring.

OBSESSIVE COMPULSIVE COSMETICS: LIP TAR: VINTAGE (£9.99)

I'm not fond of brown lip products, so, despite my love for OCC Lip Tars, I wasn't sure I'd be as in love with Vintage as I was the others.


Vintage surprised me in a good way. It looks like a browny red in the tube but comes out as a gorgeous, sexy crimson. 

The formula is the same as the others, beautifully pigmented, thin and non-sticky with a slight minty scent.


This tar definitely benefits from being blotted, as it leaves your lips an awesome raspberry colour that lasts forever.

Vintage is probably my second favourite lip product, next to Super NSFW. It's strong, incredibly sexy and will go with a full face of makeup, or work well as a statement lip with minimal makeup. A great addition to anyone's makeup bag.

Saturday, 16 March 2013

SUGARPILL: BURNING HEART PALETTE (£24.99)

I've been hearing a lot of noise about Sugarpill for a while now; some of my favourite makeup artists use it for creating dramatic, pigmented, eye makeup looks. So naturally, I had to check 'em out.


The packaging is cute and pretty, with a magnetic lid; the lid feels pretty sturdy but I still don't think I'd trust it floating around in my handbag. It's also got a decent-sized mirror inside, which is always handy.


Inside are four colours: Flamepoint (orange), Buttercupcake (yellow), Love+ (red) and Poisonplum (purple). I'm a sucker for red, so Love+ was my real favourite, despite all the colours being great.

They're all incredibly bright, almost scarily so, at first glance. I was also a little bit concerned, as they looked and felt a little too pressed. However, after using them for my last three makeup tutorials (Snow White, Belle and Cinderella) those doubts disappeared.

Upon first application, they don't seem nearly as pigmented as they do in the pan. However, they build quickly, so keep at it for a few minutes and you get awesome colour payoff.

The only real downside to Sugarpill's eyeshadows, is that there's not enough of them! Getting hold of their cosmetics is pretty difficult in the UK, with the only website I can find that sells them being Love Makeup. Even on there, the range is small and not exactly varied. If Sugarpill brought out a larger palette, like Urban Decay regularly do, I'm sure I'm not the only one who'd be lining up to get it.

CINDERELLA MAKEUP TUTORIAL

So, here's my second of the two tutorials I promised you today. This one is probably my favourite of the two and is once again based on Cinderella's dress, with splashes of gold for her hair.


Prime your eye and add a royal blue all over the lid (Chaos - Urban Decay).


I applied a light blue to the crease, using a clean, fluffy brush to blend it into the darker blue, then add a shimmery white (Polyester Bride - Urban Decay) to the brow bone and inner corner. For the lighter blue, I just chose a shade from my Beautify - 120 Colour Eye Shadow Palette.


I tight-lined my eyes in black (Perversion - Urban Decay).


Line the top 'lash line with gold (Barry M - Metallic Gold Liquid Eyeliner).


I then used a gold eyeshadow to fill in my 'brows. Blitz by Urban Decay is perfect for this; in the pan it looks as if it'll be too dry but when you apply it, it's so pigmented it looks like foil.


As always, apply some black mascara. You could try finding some gold mascara to make it a bit more dramatic.


And, again, as always, apply some false 'lashes.


I actually really love this look; the blue and gold really compliment each other.

BELLE MAKEUP TUTORIAL

My apologies for the late additions to the website, people. I've had a bit of a busy week. However, today I intend to make it up to you.
Here's the first of two makeup tutorials, carrying on with my Disney theme: Belle from Beauty and the Beast. As you'll see, her dress was the main inspiration for this look, as it was with Snow White and also is with my Cinderella tutorial coming later.


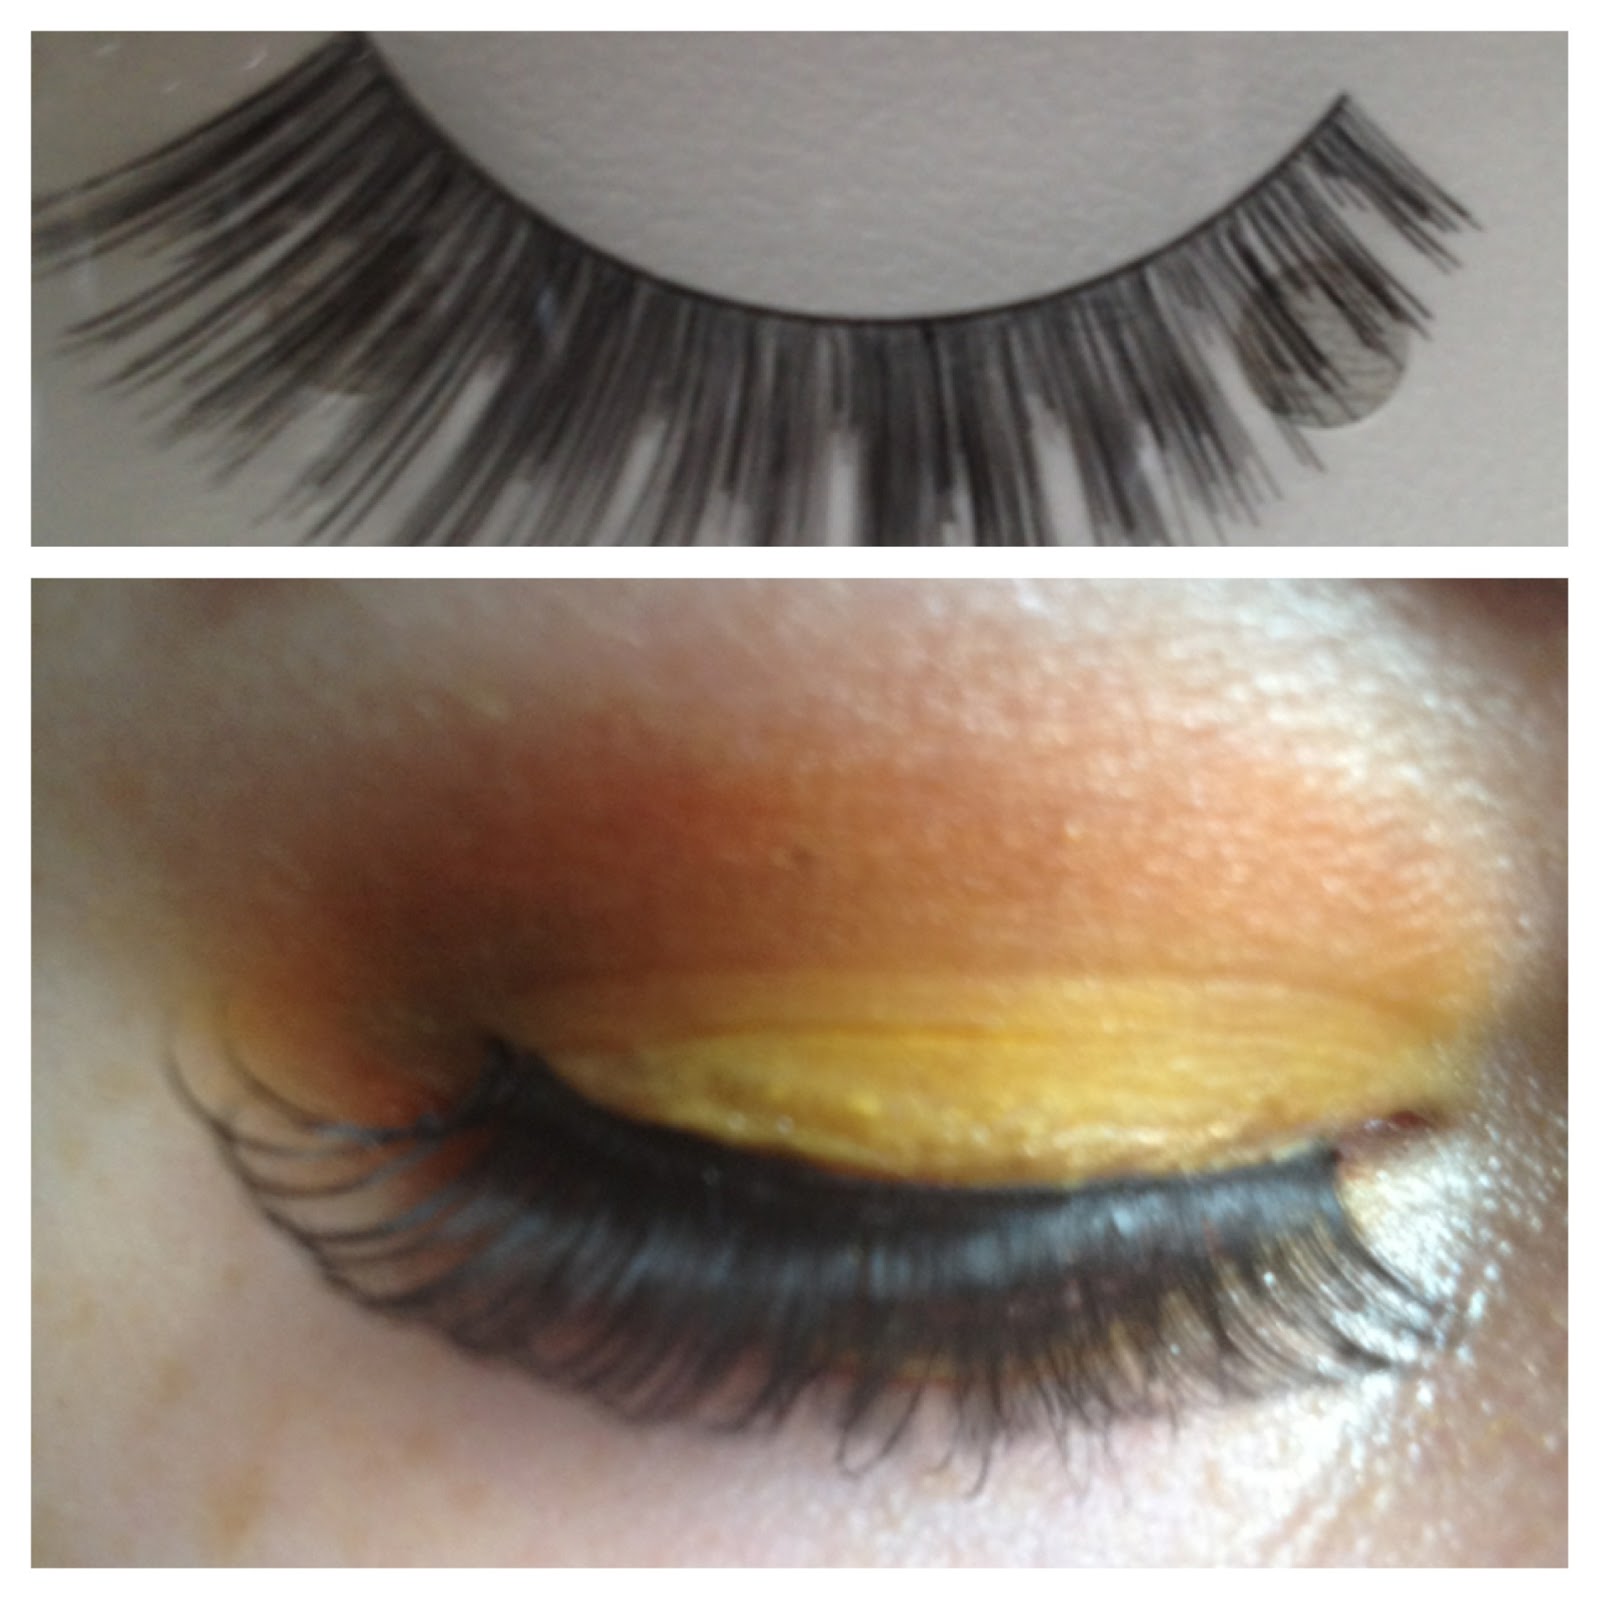
Prime your eye and apply a pigmented yellow all over and under the lid (Buttercupcake - Sugarpill).


 Apply a bright orange to the crease and outer corner of the bottom lid, using a clean, fluffy brush to blend it out (Flamepoint - Sugarpill).


Use a white to highlight the tear duct and brow bone (Polyester Bride - Urban Decay).


I used a dark brown (Busted - Urban Decay) to fill in my 'brows.


Apply a brown or bronze (Lucky - Urban Decay) to the waterlines.


I then applied a dark brown (Busted) to the very outer corner of the crease to add a bit more depth to the eye socket, make sure to blend it in with the orange pretty well.


Line your top lid in a gold liquid liner. Barry M's Metallic Gold Liquid Eyeliner is perfect for this.


Apply some black mascara (Benefit - They're Real!).


Stick on some false eyelashes of your choice. 


This look is actually pretty wearable, especially in summer. The trick is to really spend some time blending so that the colours run seamlessly into one another.


Monday, 11 March 2013

FEBRUARY '13 FAVOURITES

I'm always so late with these favourite posts! So, without further ado, here are my February favourites. Admittedly, there are only four this month, but I guess that's better than nothing!

My first favourite is one of the eyeshadows found in the Ammo Palette by Urban Decay, which I reviewed in early February.


I loved the whole palette, but there was one colour which really stood out for me and that was Mildew. I never used to wear green on my eyes but since getting this palette, that's completely changed. This shimmery, mossy green is stunning on brown eyes and I can't imagine it looking anything other than amazing on blue, or even green eyes; the colour is just that pretty. 
It's really encouraged me to start wearing colours on my eyes again; I'd wear them for tutorials but never out of the house, so this palette has really sparked a love of experimentation in me which had momentarily disappeared.

My next February favourite is from Urban Decay again, but for once it's not an eyeshadow!


I only reviewed the Naked Flushed blush trio this month but this was after extensive 'testing' *winkwink* throughout February where I wore it pretty much every time I left the house.

This blush is pretty, pigmented and absolutely perfect for spring.

Next on the list has to be Illamasqua's awesome Speckle nail polish.


It's a bit pricey but has an awesome effect and comes in a range of egg-shell themed colours. Also, a pretty cool addition to any nail polish collection with Easter merely weeks away.

My favourite lip product of February is once again an OCC Metallic Lip Tar, this time in the shade Electric Grandma.


This shimmery coral with more than a hint of gold is an awesome spring colour and generally unique. It looks a lot thicker than it actually is and is a great way of making toned down, neutral makeup look crazy, in a good way. What could look really good, is if you had a really dark, dramatic smokey eye, and instead of red or neutral lips, wear this splash of coral to make it a bit more interesting.

Saturday, 9 March 2013

OBSESSIVE COMPULSIVE COSMETICS: LIP TAR: TARRED (£9.99)

When I first started purchasing OCC Lip Tars, I always had this one in mind. I love the look of black lips, ever since I was a 12 year old with (questionable) D.I.Y. blonde streaks in my hair, I was smothering my lips in coal-coloured products. I always found it difficult to find black lip products, the best I could ever find was by Stargazer, which was dry and lacked serious pigment, so I usually ended up using a mixture of Vaseline and eye pencil. If only Tarred had been around then!


Tarred is unbelievably pigmented; I used an Urban Decay eye pencil in Perversion, one of the darkest eyeliners you can get hold of, to line my lips before applying the Lip Tar and the Tar was so black that it made Perversion look grey.


The formula is just the same as the others, thin but pigmented and has a minty smell. I did find, however, that it seemed to feather more; I'm assuming this is down to the fact you can just see it feathering more because it's so dark, whereas the other lighter colours can feather almost unnoticed. To minimise feathering, make sure to line your lips before applying it and blot away any excess product.

Also, make sure not to venture too far inside your lips with the tar, as if this product gets on your teeth, you ain't getting away with it. As odd as it may look, try placing your finger in your mouth and slowly drawing it out to remove any product from the inside of your lips that may transfer to your teeth. You may not want to do this in public though!

Overall, this is a gorgeous product, but pretty hard to maintain, so if you're brave enough to wear this out, make sure to bring a pocket mirror with you, just in case.

Thursday, 7 March 2013

VLOG 4 (VIDEO)


BARRY M: NAIL PAINT: PEACH MELBA (£3)

I desperately wanted to find a pretty peach/pink to try since it seems Spring has sprung. I'm not usually into peach colours, I'm a lot more partial to creamy, neutral colours in Spring, but I wanted to branch out a bit more. I also wanted to try a cheap, highstreet/drugstore nail polish, since most of the nail products I review tend to be on the expensive side and I know most people aren't willing to spend that much on one product.


I bought Peach Melba by Barry M for under £3, which anyone will agree is incredibly cheap for a nail varnish. As much as I love Barry M, I wasn't expecting much; their products are always reasonably priced but under £3 is borderline taking-the-piss.

Firstly, I'm not sure about the colour; one minute I like it, the next it reminds me of burger sauce. I reckon it'd look gorgeous on dark skin but on my pale skin, it looks a bit odd.

The consistency of the product was just as confusing. It was really thick, gloopy and was so streaky it was infuriating to apply. However, after a couple of minutes it seemed to even itself out, it only needed one coat as it was highly pigmented and dried incredibly smooth. 

Something that's really impressed me about this polish, is that I've been wearing it for 3 days now and it hasn't chipped at all; this is with no protective coat over the top, as I thought it looked too thick and didn't have time to wait for it all to dry. 

This humble £3 nail polish has held up A LOT better than a lot of the £10 bottles I own, and that's a tall order.

Bravo, Barry M. Bravo.

Tuesday, 5 March 2013

SNOW WHITE MAKEUP TUTORIAL

Right, I'm going to level with you guys here and tell you that I don't really enjoy recording makeup tutorial videos; I prefer making tutorial posts, as I can show more detail and explain things a bit better. This is why I'm going to make my 'Tutorial Tuesday' a blog post, instead of a video, unless for some reason I really feel I want to record it.

I'm going to carry on with my Vlogs because I enjoy filming the bits and pieces I do for those, but for now I'll be concentrating mainly on this blog again.

I also want to step up my tutorials a bit. I want to learn and develop and at the moment I'm not doing that, so I'm going to set myself new challenges.


I thought a good place to start would be a series and since everyone loves Disney, I'm going to start a Disney series. Hopefully this'll get my creative juices flowing. I really enjoyed creating this Snow White tutorial, which I honestly haven't been able to say for a while, so I hope you like it as much as I do.


After priming your eyes, add a hot, pigmented red to your top lid (Love + - Sugarpill)


Apply a matte black to your crease (Blackout - Urban Decay) and use a clean, fluffy blending brush to soften out the edges. It's really important that you use a clean brush to blend here. Also, I kept going back over the red and then black to strengthen the colour.


Use a royal blue underneath the eye and flick it out at the outer corner. If you can find a royal blue with glitter or shimmer, as I did, this is perfect; I wanted a little sparkle somewhere to symbolise the 'magic' of the magic apple. I just used a blue from my Beautify - 120 Colour Eye Palette; a lot of people turn their noses up at the cheaper eyeshadow palettes, but they can actually be really helpful for looks like this.


Apply a matte yellow (Buttercupcake - Sugarpill) to the inner corner and brow bone. Make sure to blend this into the surrounding colours well; I admit I could've done a much better job here!


Use a red eyeliner on your bottom waterline (or lip liner, just make sure to sharpen the top layer off before and after use). Alternatively, you could use black here too.


I filled in my eyebrows with black eyeshadow as Snow White's hair is black.


Tightline your top 'lash line with black, then line the top lid in black, winging it out quite thinly but dramatically.


Apply black mascara to your 'lashes.


Add some good, whispy, winged false 'lashes to your top lid, and bottom if you want a more dramatic look.


Okay, so the blending could've been better and the look in general could have been a lot more creative and exciting, but as my skills develop and my makeup collection expands, I'm sure I can improve. One day I hope to be able to come back to tutorials like this and add bits that I never would have thought of today.