1
Primer.

I think I've bored everyone enough with my rants about primer but no makeup bag should be without it.
2 & 3
Lipstick


Two lipsticks: one in your favourite nude, the other your favourite 'evening' colour. Mine would be Revlon's Pink in the Afternoon and OCC's Lip Tar in Super NSFW.
4 & 5
Foundation


One liquid (Rimmel Match Perfection Liquid Foundation) to even out the skin tone and a powder (Rimmel Stay Matte) to mattify.
6
Mascara

If I had to pick just one item of makeup to bring with me onto a desert island, it'd be mascara. Making your eyelashes thicker, darker and longer not only frames your eyes and makes them appear bigger, but it makes a huge difference to the rest of your face.
My current favourite is Collection's Big Fake Ultimate mascara.
7 & 8
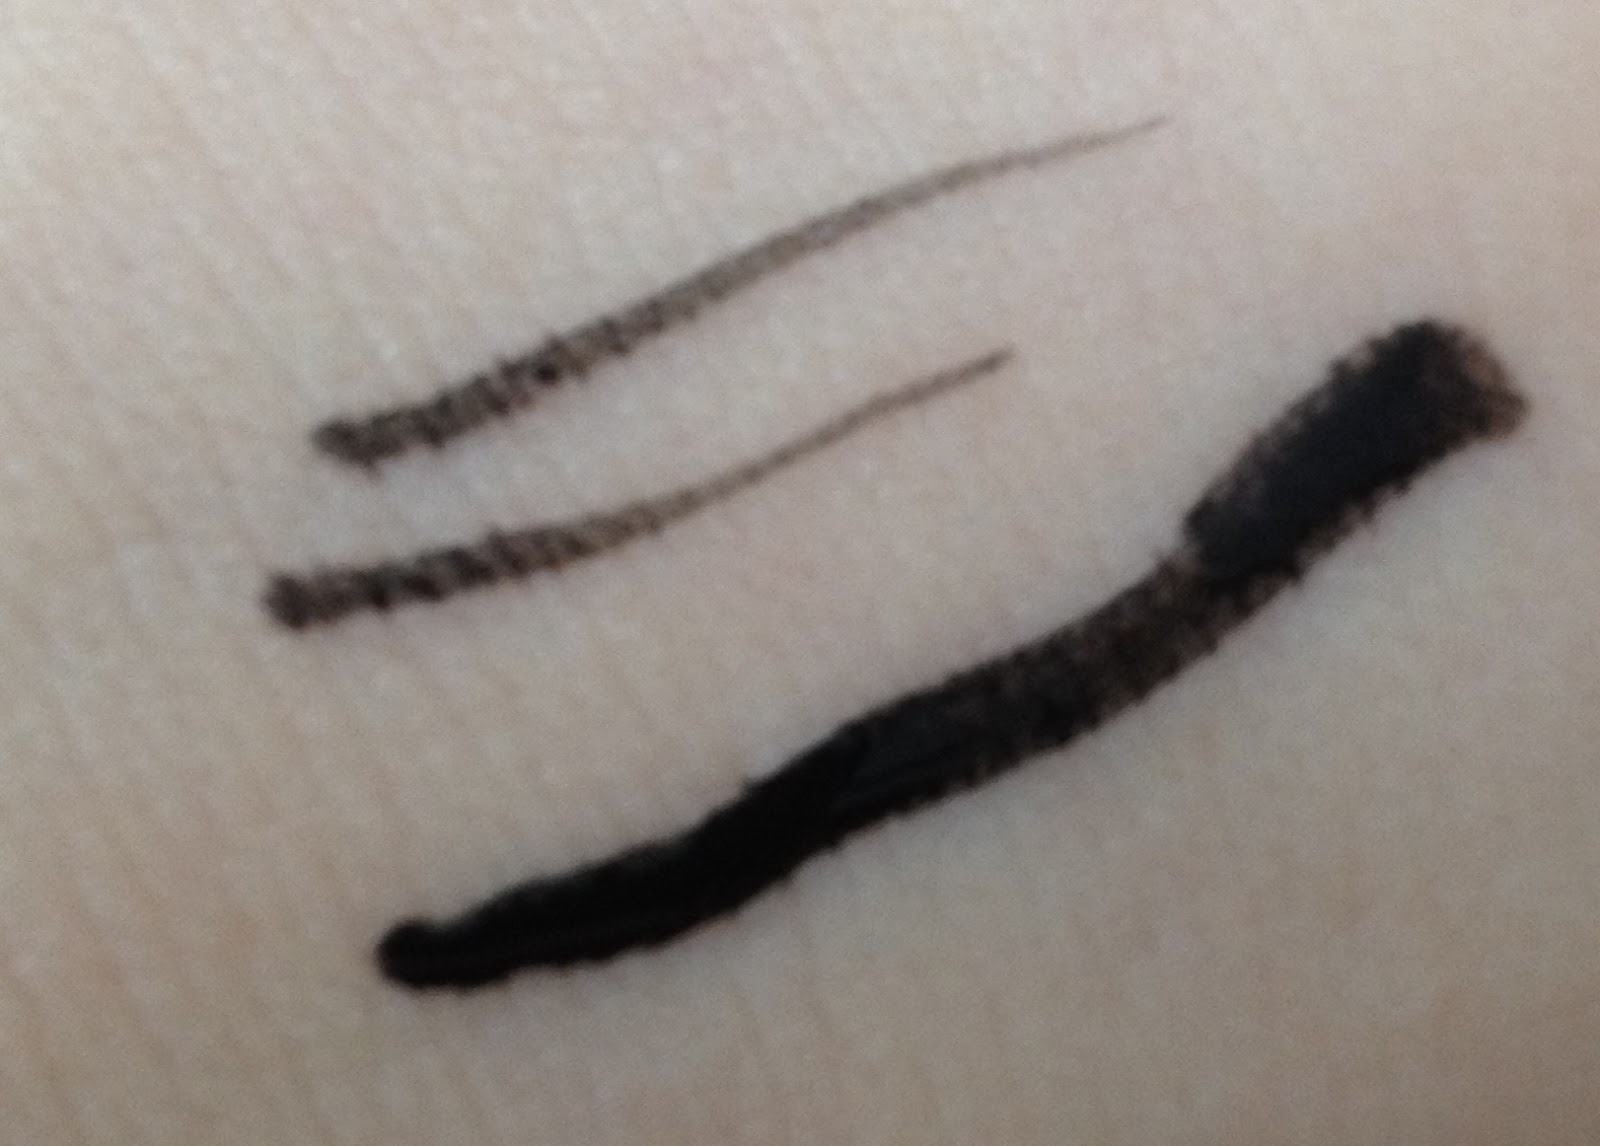
Eyeliner


One pencil, one liquid or pen. Pencils are great for tightlining your waterline, liquid is good for thickening your top 'lash line. I'd recommend both in black, or at least the liquid; the pencil would also be good in a brown if you're into a softer look.
9
Blush Palette
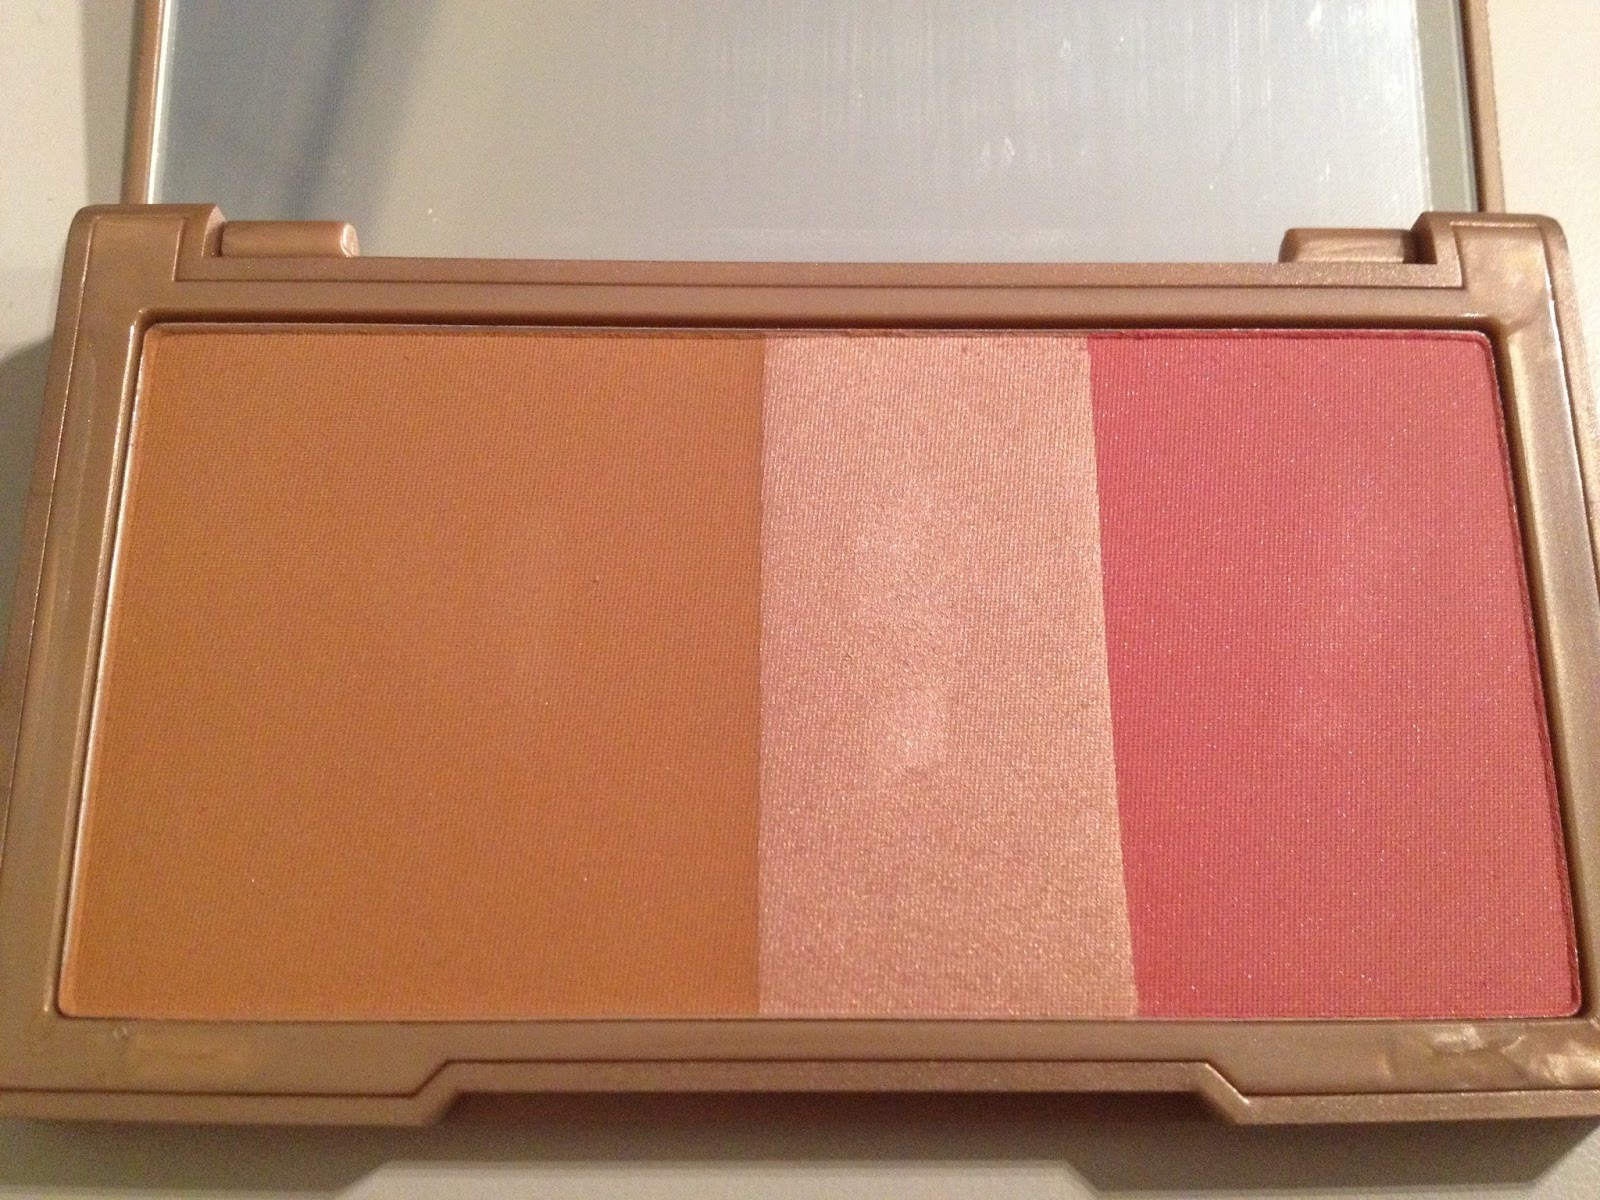
There are some great blush palettes out there such as Urban Decay's Naked Flushed blush palette, which contain bronzer, highlighter and blush. These are really handy for carrying around in your bag.
10
Eyeshadow Palette
A good quality, varied eyeshadow palette is a must. My all-time favourite is Urban Decay's Naked 2 palette since it contains a range of matte, shimmery, light, dark, soft and striking shadows, which are all Urban Decay's trademark excellent quality formula. If I could only have one eyeshadow palette for the rest of my life, it would be that one.