
I'm going to be honest with you, I'm not entirely sure I like this look. Not because the look itself isn't beautiful - I've seen several tutorials where it's been executed perfectly - but I don't think I've done it very well. It was spur of the moment and when I was done, I felt like I'd pretty much wasted my time. If it wasn't for my brother, I wouldn't be putting it up at all.
Hopefully you lot like it better than I do.

Prime your eyes and use a white shadow to go all the way around them around them.

Use a pink, purple or whatever you want (I used Rockstar by Urban Decay) and an angled brush to draw a line above and below the eye, following round the shape of your socket and flicking out at either end (as pictured). Blend the same shadow above and below these lines, also using the white shadow to help blend the edges of the colour into the skin.

I then used Morphine (Urban Decay) 24/7 Glide-On Shadow Pencil to line my waterline and top lid.
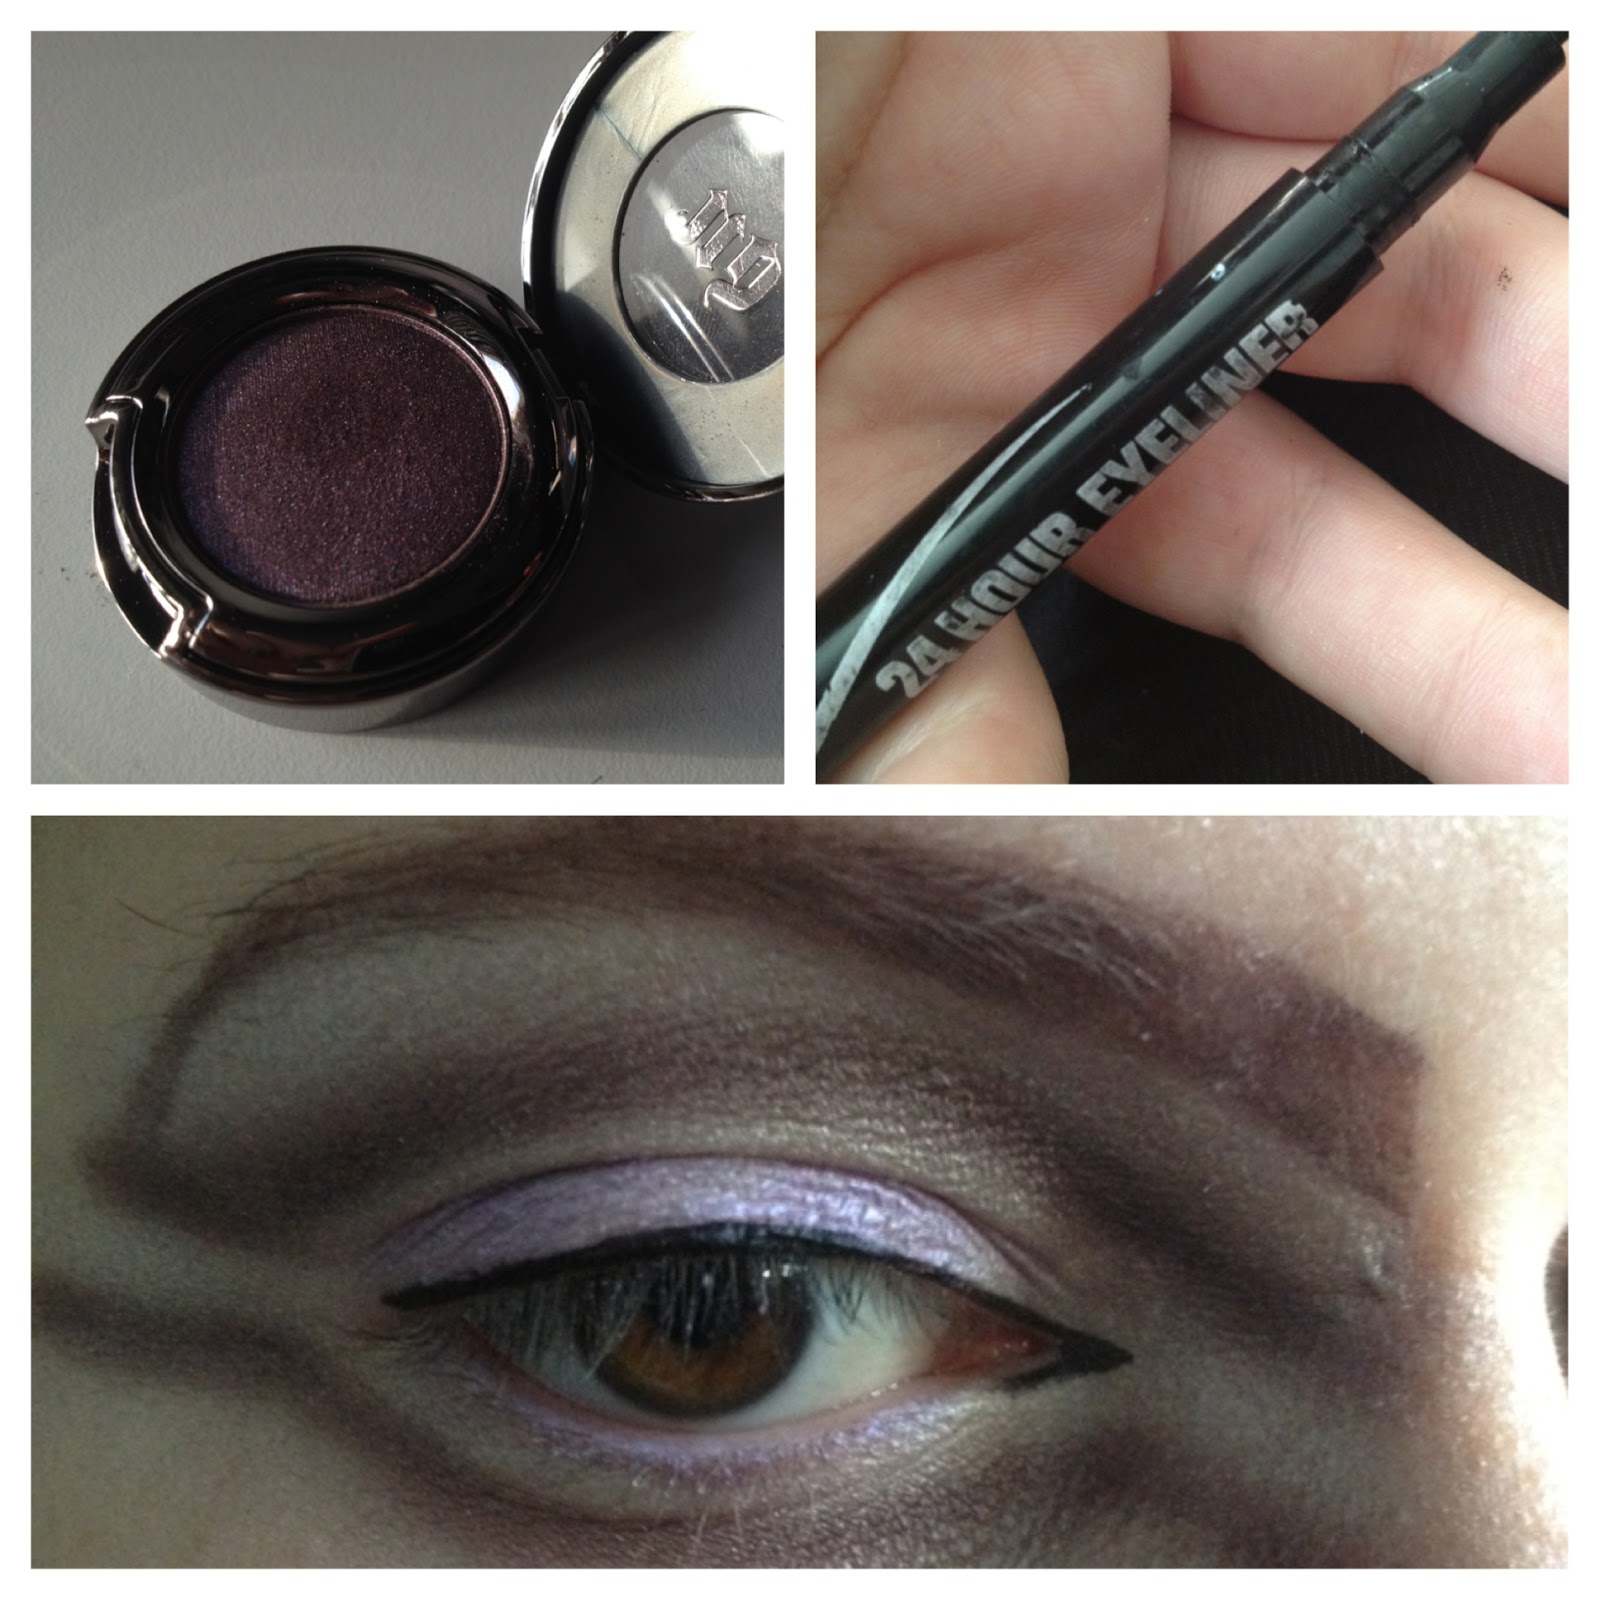
I then used the same dark purple I'd used to draw and blend the lines, to fill in my eyebrows. I took the eyebrows all the way in to the bridge of my nose at the inner corner and all the way down to meet the top line on the outer corner. I also lined my top lash line in black, making a point at the inner corner (in hindsight, I'd probably wing it out at the outer corner as well).

I then used black mascara.
In the picture at the top of the post, you'll see I contoured my face heavily. I did this with the purple eyeshadow I used on my eyes, as I was going for a weird purple alien look at first (before my brother told me I looked Egyptian). I drew down the sides of my nose, nostrils, cheekbones, philtrum and lips. I also filled my lips in with concealer.
As I said, I'm not too thrilled with this look, but I thought I'd put it up just to show you guys.
No comments:
Post a Comment